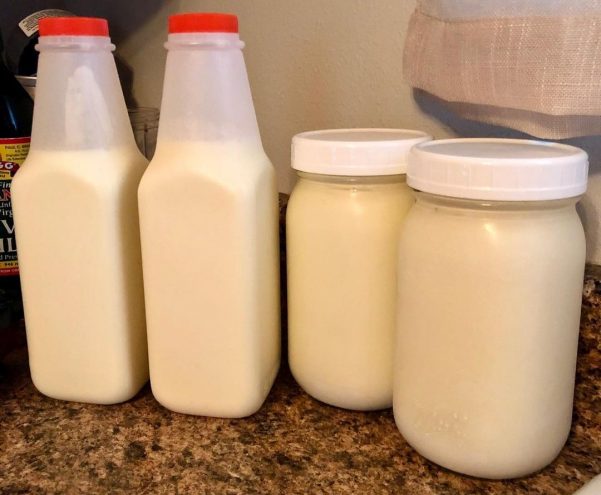
It’s worth noting that for most of the time we’ve been consuming dairy products, we didn’t have refrigeration. Our ancestors had to either consume it quick, consume it clabbered, or control the aging process through a number of dairy fermentation methods. They made plenty of cheese, but also drinkable solutions.
Raw milk kefir, very similar to yogurt, is an ancient raw milk fermentation that allows you to set the trajectory of your raw milk’s microbiotic activity in a unique and beneficial direction. This allows you to keep it longer, extending the availability of those calories, and gain added benefits from its probiotic composition.
Start making raw milk kefir
If you’re able to get grains that have been cultivated in raw milk, you can skip the acclimation process and not use pasteurized milk to acclimate the grains. You can activate the grains in a cup of raw milk, strain and toss them into a mason jar with 16oz then 32oz of raw milk and they’ll thrive.
Most grains are cultivated in pasteurized milk. If you don’t know for sure that your new grains came from raw milk, they came from pasteurized milk. You might need the next step to make sure your culture survives the exposure to competitive probiotics that exist naturally in raw milk.
You’ll need a few things to get started:
-Raw milk
-Pasteurized milk
-Pint and quart glass jars
-Kefir starter grains
-Fine mesh strainer
-Breathable cover: tight-weave towel, coffee filter
-Something to secure the cover: rubber band
-Fixed place for brewing, 68-85°F
Note on the pasteurized milk: Get the best pasteurized milk available to you. Avoid UHT (Ultra-high Temperature processing) ie Ultra-pasteurized milk if possible. Avoid homogenized milk if possible.
The best pasteurized milk you might find will be labeled “vat-pasteurized.” It will either say non-homogenized or references to homogenization will be absent. If vat-pasteurized milk is not available, don’t sweat it, just get an organic whole milk.
Note on the glass jars: Acidic brewing vapors will cause metal lids to rust eventually, plastic lids are better. Don’t worry about plastic from the lids contaminating your brew, they shouldn’t come in contact.
Note on the grains: In a healthier world you’d just ask around and grab some grains off your neighbor, family member, or someone within your community. If that’s an option, take it. If not, grains sold online will work perfectly fine.
Grain activation and acclimation to raw milk
To expose your kefir grains to raw milk, they need to be strong first. I’ve heard of a few times when this wasn’t necessary, but generally the rule is that you’ll want to ease them into raw milk by beginning with pasteurized milk (no existing probiotics, which is what they’re used to) and gradually raising the percentage of raw milk in your solution.
Step One: Activate kefir grains by placing them in approximately 8oz of pasteurized milk. Check back in 8-24 hours, you should notice the milk has thickened if you tilt the glass. If it doesn’t thicken, strain out the grains and change out the milk. It’s a not a problem if they don’t take at first, kefir grains can take a batch or two to wake up.
Step Two: Transfer this solution into 16oz of 100% pasteurized milk, let it brew for 24-48 hours. Once the culture has thickened the milk, strain the grains and brew a 32oz batch.
Step Three: Begin acclimation by introducing your kefir grains to raw milk. After you’ve successfully brewed a 32oz batch of 100% pasteurized milk, you’ll start incrementally adding raw milk to your batches. Displace pasteurized milk with raw milk in quarters every new batch. This should be: 75% pasteurized, 25% raw; then 50% pasteurized, 50% raw; then 75% raw, 25% pasteurized; then you should be able to brew a batch of 100% raw milk kefir.
Your kefir grains are now raw milk kefir grains!

Now you have raw milk kefir grains, and some brewing experience.
If you’re still not confident in your new skills, and would like to see photos and videos of the process, check out this walk-through by Cultures for Health to cross-reference.


